Photographing small objects can be a challenge. There are, however, a few tricks and techniques you can easily master to refine your photographs and get the desired effect.
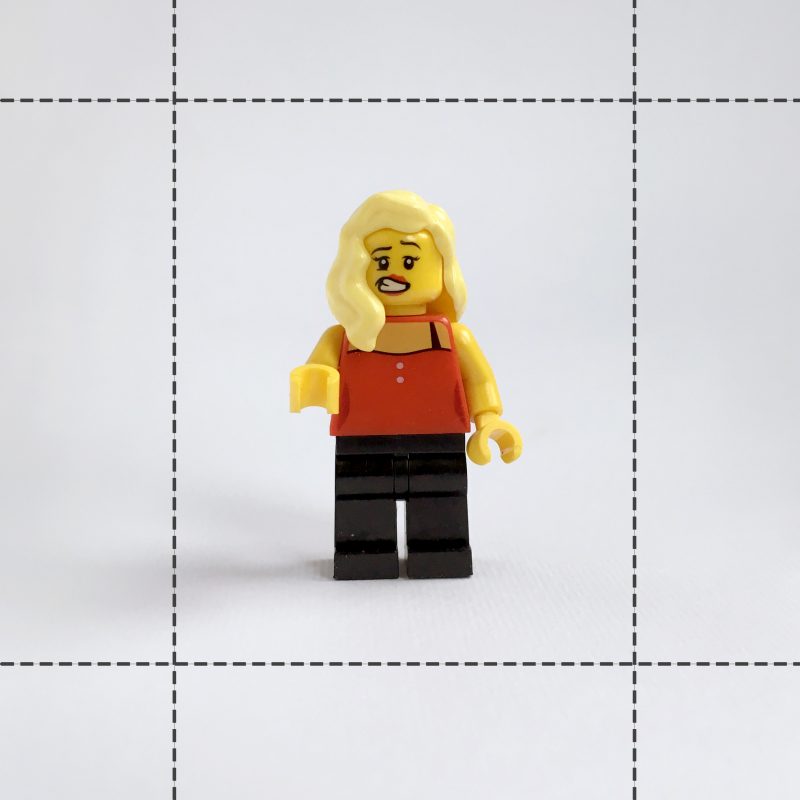
Learn how to create perfect photographs of small objects like these photos of Lego figures from Eryk’s collection.
1. Get as much natural light as you can
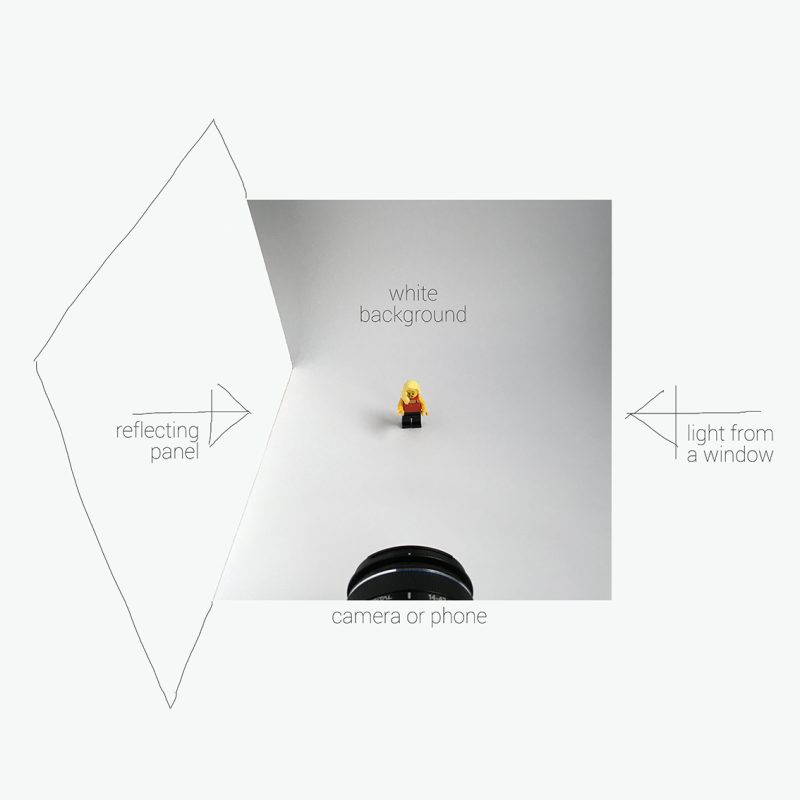
Focus on using natural lighting. It’s the easiest approach and doesn’t require any additional spending. It’s best to shoot near a window (your main lighting source) but avoid the direct sunlight. A cloudy day would be perfect because the more the light is diffused, the better for getting less deep shadows and contrast. Just remember to set your camera’s white balance mode to daylight by choosing “the sun” icon.
2. Add some more light
It’s recommended to use two sources of light. If one of them is the sun shining through the window, and you want to stick to natural light, just try to use any reflecting panel as the second light source – it can be any sort of white surface, if only it’s set against the main light source (the window), on the other side of the object. By using a panel you will lighten the whole scene and illuminate shadows.
3. Get as close as possible to your object to fill the frame
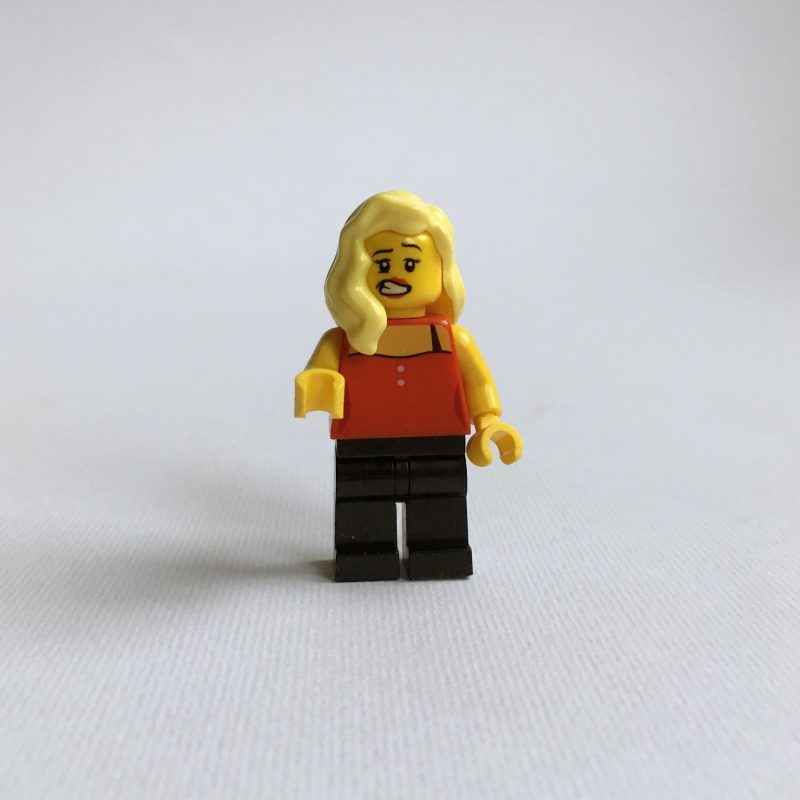
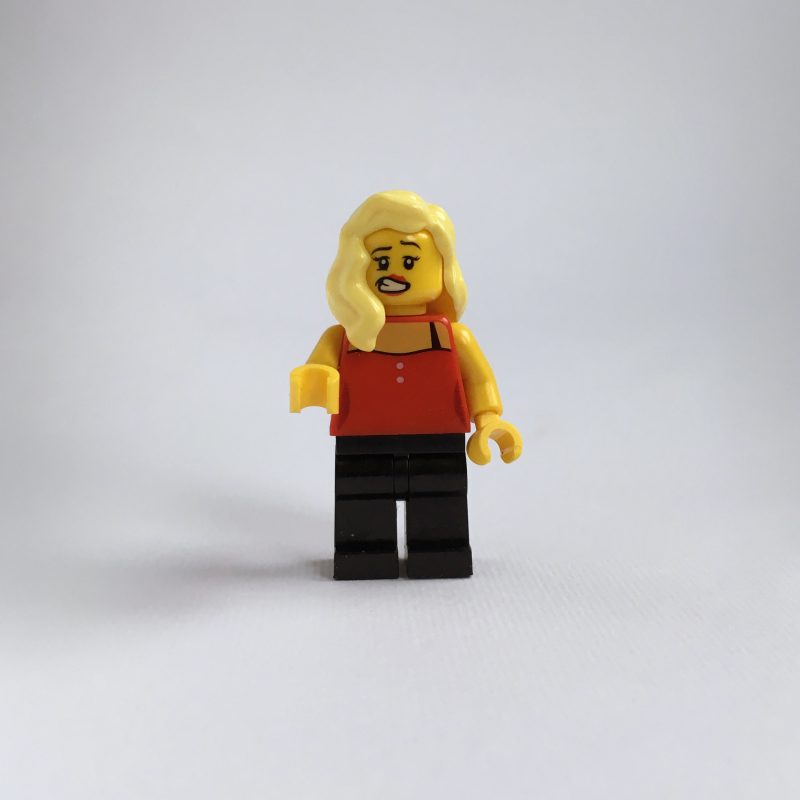
You want to bring out the details – that means you need to get close to your object, which makes keeping it in focus a lot harder. Almost all cameras have a useful macro mode that enables you to get as close as you need while still keeping your object in focus. It’s usually represented by a “ flower” icon on your camera settings section. If you use the macro mode for close-ups, you probably won’t need to crop your images afterward.
You can also use a wide-angle lens, but a better way to get closer is to use a zoom lens instead. This solution has an advantage – using zoom prevents a perspective distortion and deformation of the object, which a wide-angle lens certainly would cause.
4. Try to avoid main sharpness problems
In any case, the most important thing is to make your image sharp. It’s a challenge because you’re getting an extremely shallow depth of field, where only a narrow area appears sharp.
Firstly, use a single-point autofocus. It offers you the possibility of sharpening the most important part of whatever you’re taking photos of. Do the same when you’re shooting with your phone – just tap directly on the object to bring it to focus.
Looking for a place to share your well-photographed collectibles?
Secondly, use a tripod or find a way to make your camera as stable as possible – your shutter speed might get too slow for shooting without getting your camera really firm. To stabilize your camera and get smooth shots, try holding your breath or let your arms to prop against the table.
5. Keep the frame simple and clean
Your eye notices less than the camera so try to look closely and eliminate all unwanted elements that appear on your background within the frame. Pay special attention to dust which may become surprisingly visible after you magnify the object on your computer.
It’s also good to choose a contrasting but neutral background – white, grey or black. If your object is rather dark, pick a light background to make it more visible. If you’re shooting a white object, choose a darker shade. It’s better not to use a color background, especially when photographing a colorful object.
6. Edit your photographs if needed
By using a good lighting, sharp focus and an uncluttered background, you are bound to get great results. The last step, but not necessarily needed, is the processing of your image with an editing app — like a great online Photo Editor. The basic photo refinements, like cropping, adjusting color, tonality or contrast, can be performed by any image editing program. In some cases, one-click auto-fix features will do the work. Remember to use them carefully so your photographs stay natural and not over-processed.
Find more examples of well-photographed small objects on Ownetic!


